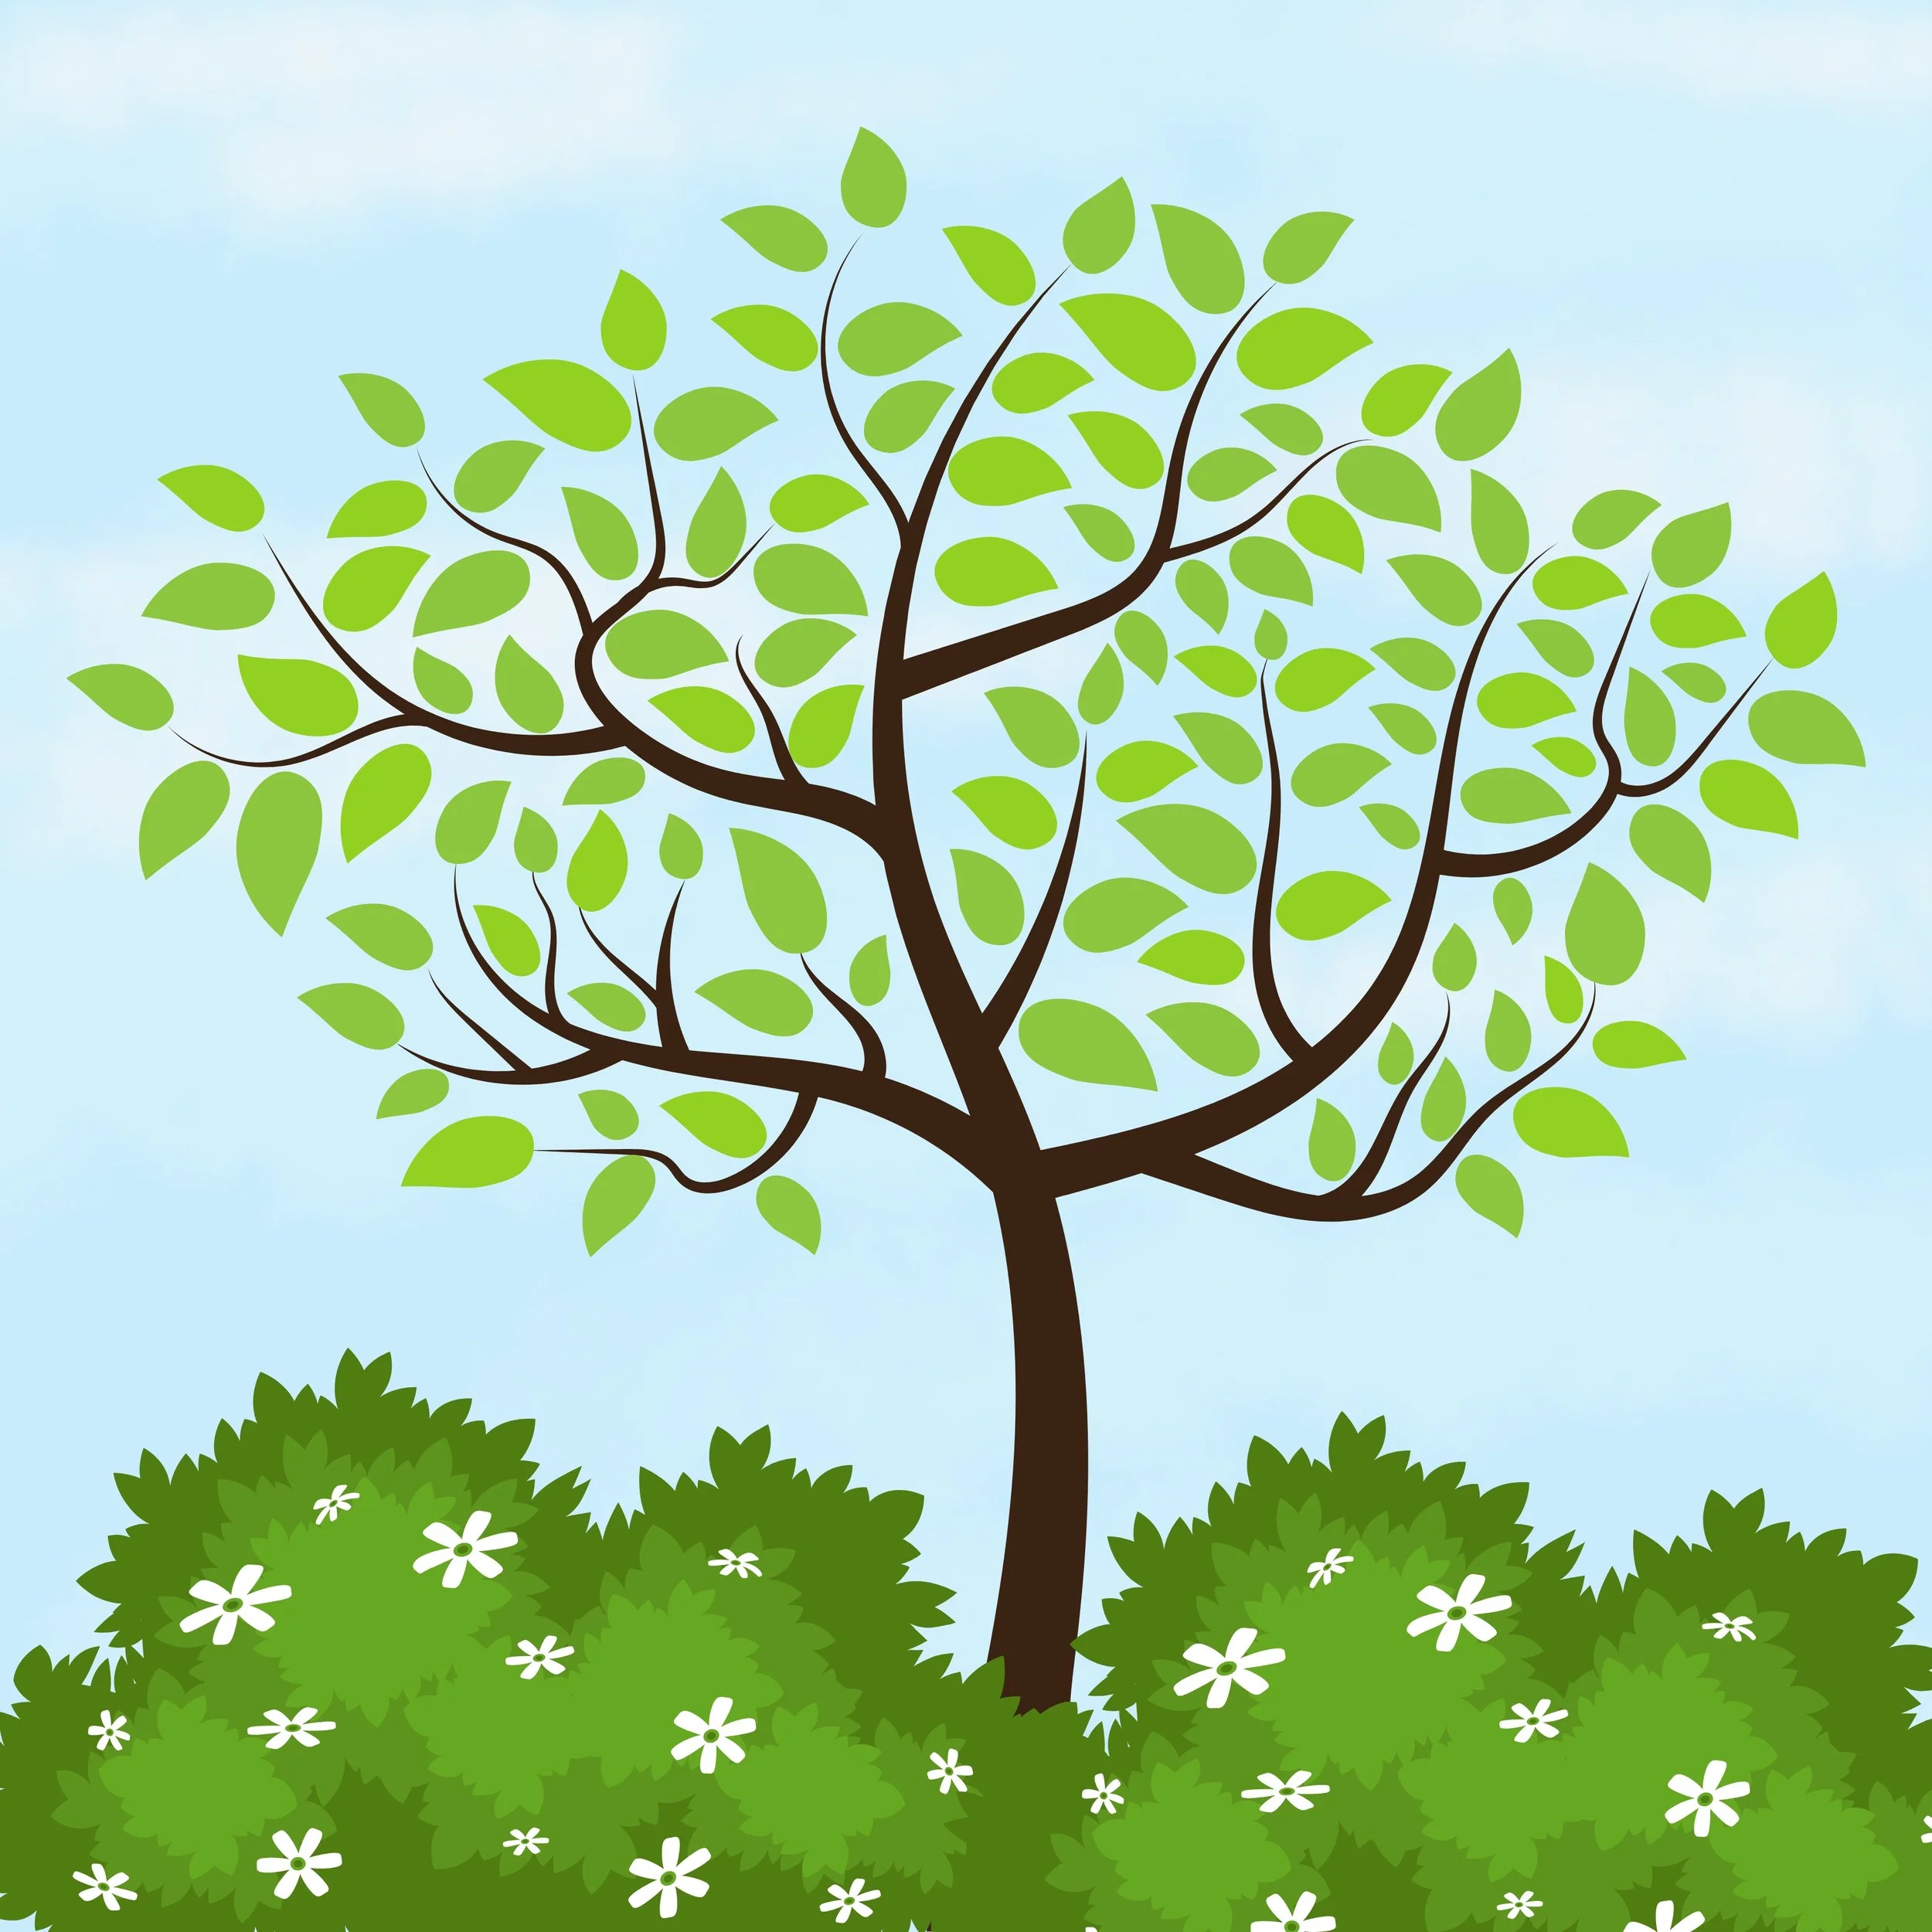
Pruning 101
Your go-to guide for pruning!
When it comes to pruning and maintenance around your yard, it can be hard to know where to start. “Which branch should I cut?” “What tools should I use?” “Am I gonna hurt my tree?!” Although these questions may be intimidating, we’re here to help guide you through the pruning process so you can feel confident working in your garden all season long!
What’s the Point of Pruning?
Good question.
Pruning is a maintenance task used for a number of reasons. Although pruning can help improve the overall look and shape of your plants, it also helps manage and promote growth.
The goal of pruning is to first remove dead or diseased branches that could be affecting the overall health of your plant. Neglecting to prune your trees and shrubs can result in overgrowth, making your plants more difficult to maintain as the years go on. By removing old and damaged branches, you can stimulate new growth in your plants.
Pruning is also for aesthetics. You can use pruning techniques to create the desired shape of a shrub, promote fullness in your tree canopy, and encourage your trees to flower and fruit!
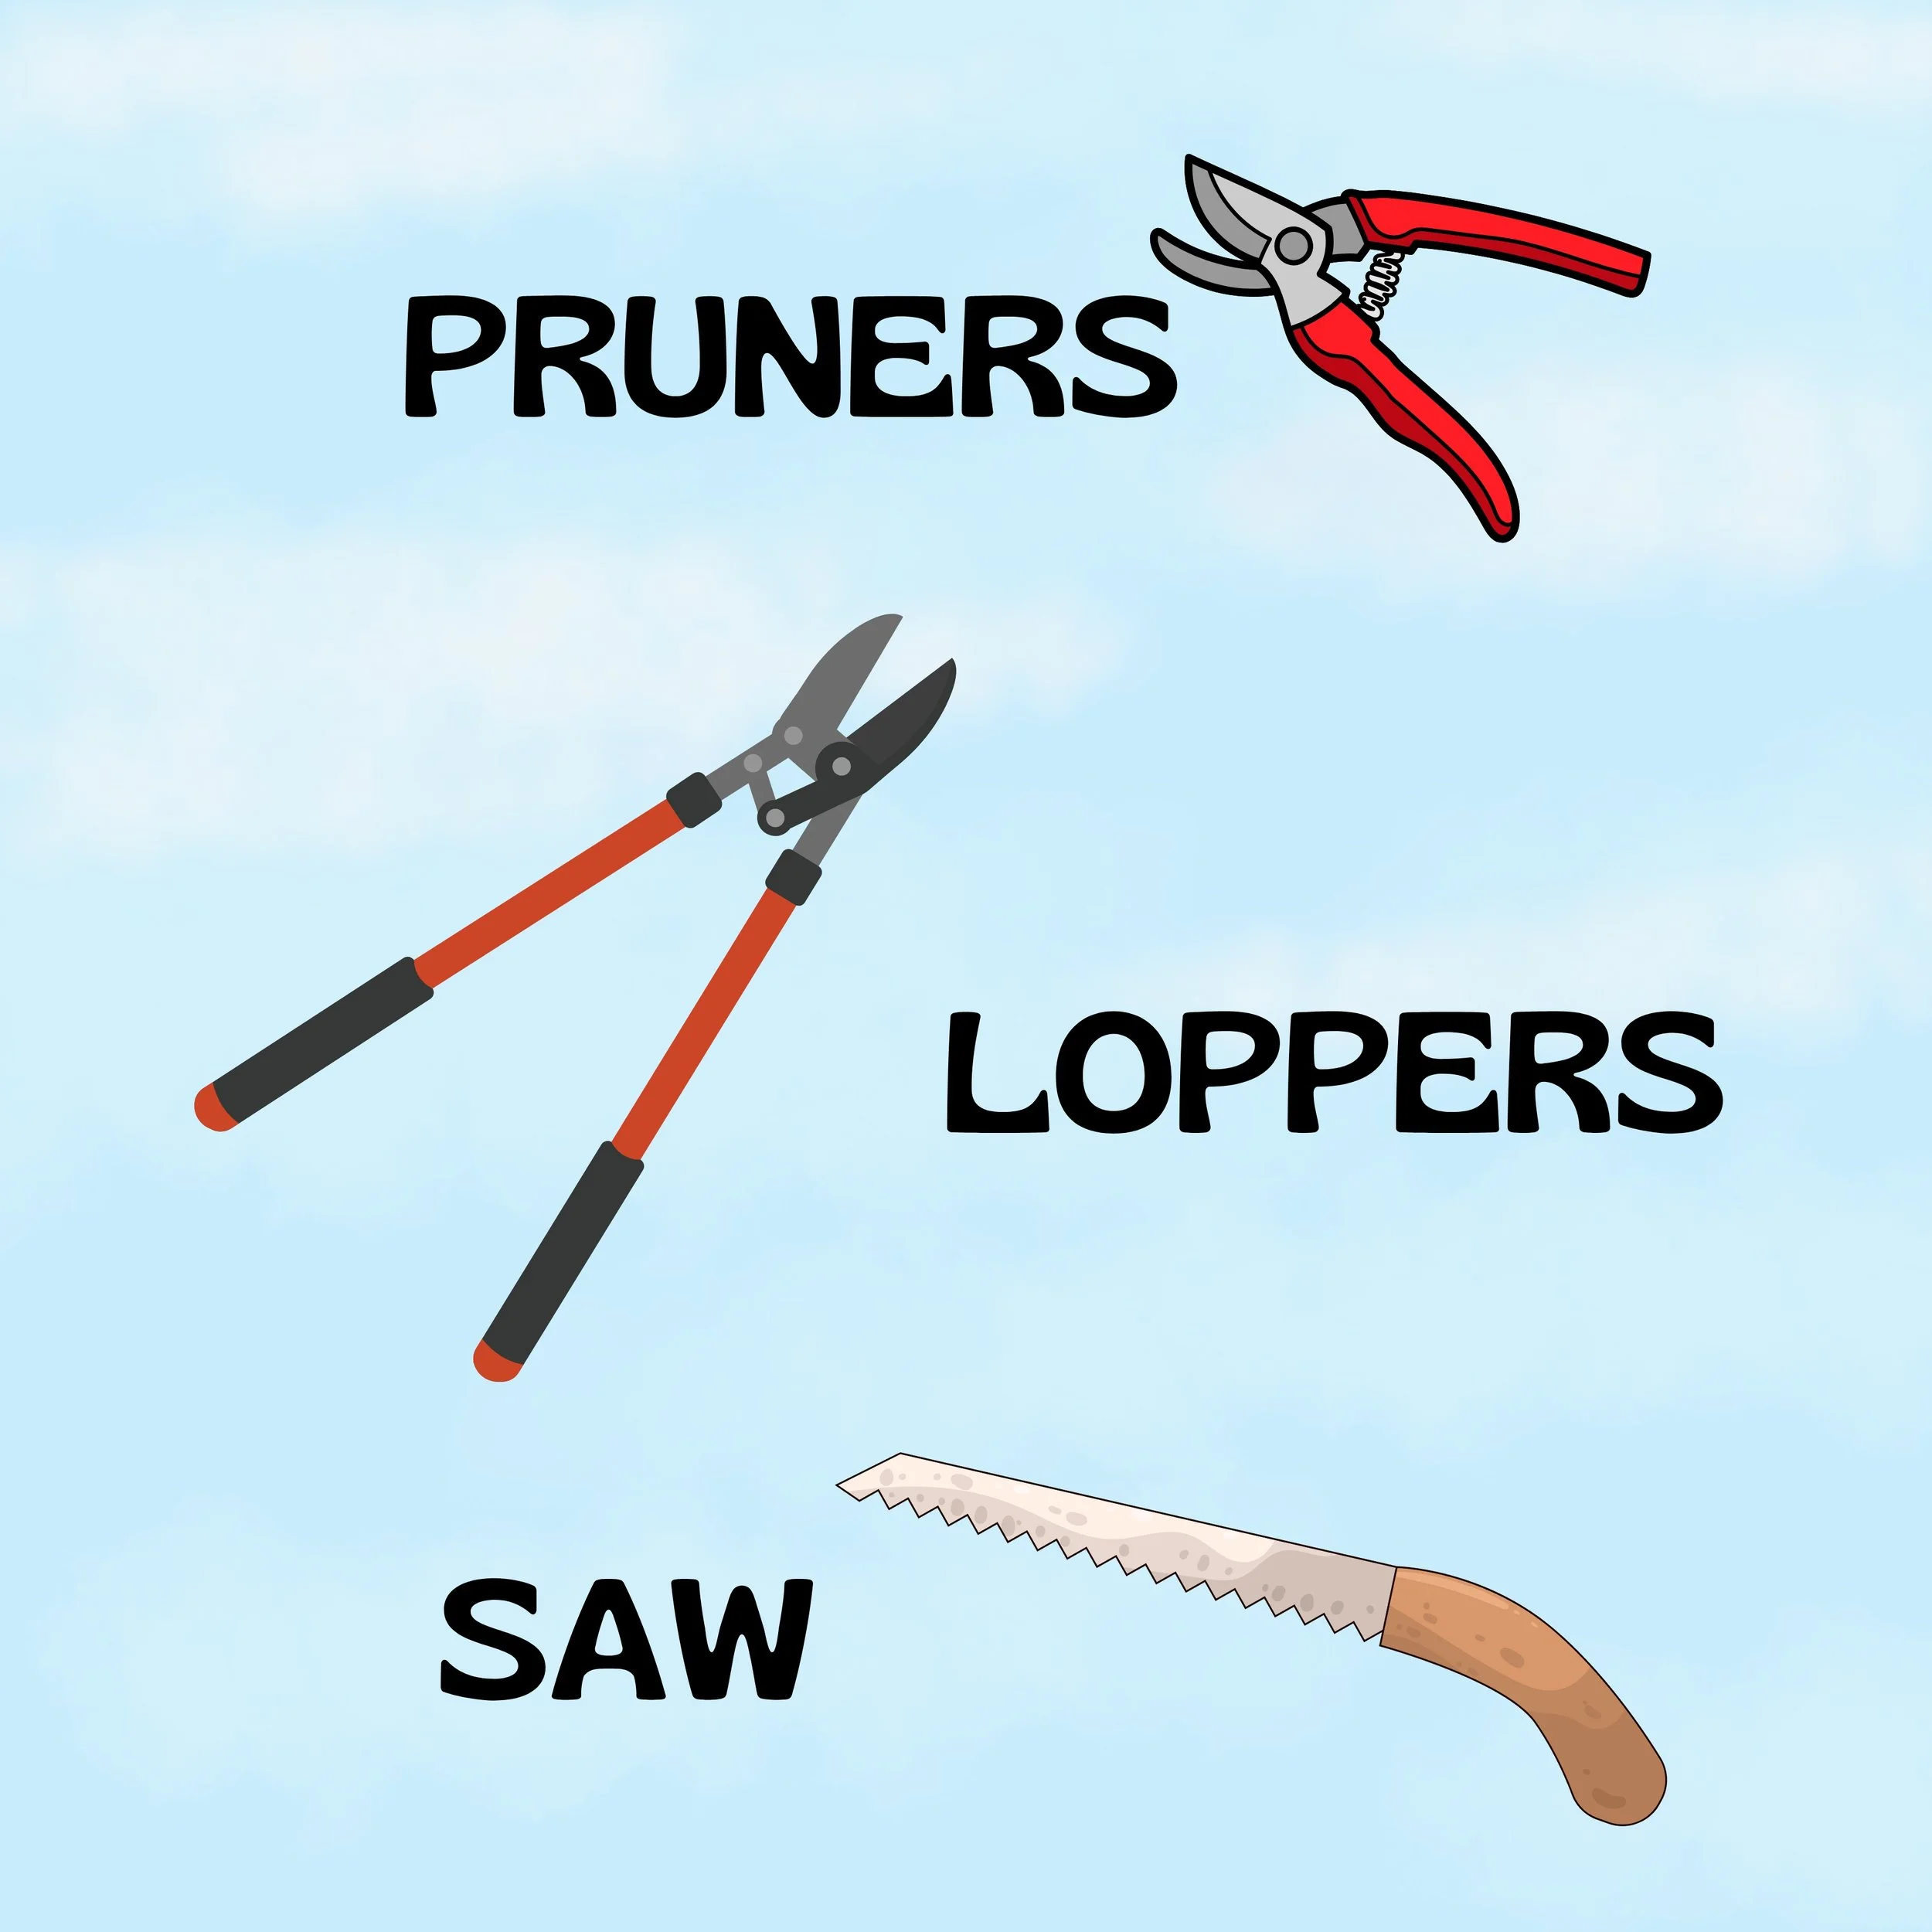
What Tool Should I Use?
I'm so glad you asked.
There are different tools for different types of pruning. Hand pruners are an excellent gardening tool to invest in, and they’re great for deadheading and cutting back overgrown branches on shrubs. Hand pruners are best used on small, soft stems or branches.
Loppers are a great tool to tackle thicker branches, anything from 1/4 of an inch to 2 inches in diameter. The bigger blades and long handles create better leverage and can help you cut through branches that are just too big for hand pruners.
Pruning Saws may seem intimidating or extreme, but they are a great tool to use to get a clean cut on thicker branches. Bigger branches can be removed much more easily with a saw, and you can even invest in a Pole Saw to help reach those branches just out of reach without the danger of a ladder.

Pruning and Deadheading
Flowering shrubs require regular deadheading: the act of removing spent flowers from a plant. Although not the same as pruning, deadheading is a necessary step to clean up your flowering shrubs and promote more flowers.
After deadheading, you can go in and remove any dead or bare branches that may not look their best. In order to keep the plant healthy, make a cut a quarter of an inch to half an inch above the leaf node. This will promote more growth from the branch.
Taking a pair of hand pruners to your shrubs can be daunting and even scary at first. It’s hard to see the vision when you’re cutting back branches and branches, but trust the process. This pruning will help flush the plant with new growth and have it looking happier and healthier in no time!

Manicure and Shape
Pruning is a great way to give your trees and shrubs shape and uniformity. Think about what you want your shrub to look like. Is it a hedge you want trimmed back and level, or an ornamental shrub you want given a beautiful, round shape?
Once you decide what look you’re going for, start by making small cuts with your pruners, trimming longer growth back to the desired length. Frequently take steps back to observe your work and see what other cuts are needed. This perspective will help you better see what cuts need to be made, and help you know when the shrub is to your liking.
Many shrubs benefit from keeping a wider base so the bottom branches get enough sunlight and can properly foliate and grow. Keep this in mind when shaping your shrubs!

Thin Out and Clean Up
Now let’s move on to tree pruning. The main goal of pruning your tree is to create better airflow by thinning out branches where crowding occurs. Start by identifying any dead, diseased, or broken branches that could pose a hazard if they break and fall. Removing these branches will create better airflow, prevent disease and damage from spreading, and help the tree focus on producing new growth.
Next, you should locate any branches pointing down towards the ground. You want to encourage your tree to grow up, not down, so these branches should be removed, especially if they are close to the ground. Any low-growing branches can also be removed, especially if people typically walk under this tree, and low branches cause a hazard.
The next step is to make thinning cuts. These are cuts where you remove the entire branch or stem to create better air circulation and more sunlight to reach the center of the plant.

Making a Cut
When taking off branches, you want to make a series of cuts to make a clean cut that heals well. There are two types of cuts: a heading cut and a thinning cut. Heading cuts reduce the height of branches, while a thinning cut removes an entire branch.
For thinning cuts, you’re going to make 3 different cuts to the same branch. This is especially important for large branches that hold a lot of weight. You want to prevent the bark from tearing when cutting a branch. Here are the steps you should follow:
Make the first cut underneath the branch, at least 6 inches from the trunk. Only cut 1/3 of the way through the branch. This is just a preliminary cut to prevent the branch from stripping back the bark.
Make a second cut on the top of the branch, 3 inches from the first cut on the outside of the branch. The branch should break off and fall while making this cut.
Make a final cut just outside the branch collar to finish off the cut. Don’t cut the actual collar, as this makes it harder for the cut to heal well.